Discover how to cook rice in a kettle easily and effortlessly
You have a kettle, a bag of rice, and no stove on hand. This situation is common: student room, hotel night, office equipped with just an electrical outlet. The good news is that the kettle can serve as a starting point for cooking rice by absorption, provided you compensate for its main flaw: it heats up quickly but does not maintain a stable temperature.
Cooking rice in a kettle: the real problem to solve
A kettle is designed to bring water to a boil and then stop. It cannot simmer. Rice, on the other hand, needs to absorb water gradually, at a gentle and constant heat. Pouring boiling water over dry rice in a bowl only yields uneven results: grains still crunchy in the center, mushy on the surface.
The real issue is not boiling the water, but keeping a stable heat around the rice during absorption. This principle separates acceptable rice from failed rice. The entire method described here aims to circumvent this limitation.
If you’re looking for a detailed guide on how to cook rice in a kettle, the principle remains the same: compensate for the lack of gentle heat with a good insulating container and a prior soaking.
Soaking rice before cooking: the game-changing step
Soaking the rice before cooking reduces the necessary exposure time to heat. The grains begin to hydrate in cold water, which then allows for a shorter and more even cooking with just the heat of the boiling water.
Have you ever noticed that soaked basmati rice visibly swells even before cooking? It’s the starch absorbing the water. In practice, this pre-soaking transforms a shaky method into a reliable one.
How to soak rice effectively
- Pour the rice into a bowl, cover with cold water, and let it sit for at least twenty minutes. Basmati rice tolerates a longer soaking well.
- Then rinse the grains under running water until the water runs clear. This step removes excess starch and limits the stickiness of the final result.
- Drain well before moving on to the next step. Grains soaked in a poorly drained bowl distort the measurement.
Soaking roughly halves the absorption time needed. Without a stove to reheat, this is a decisive advantage.
Absorption method with kettle and insulating container
The kettle is used solely to heat the water. The actual cooking takes place in a separate, covered container that can retain heat. A thick ceramic bowl with a plate on top works. A wide-mouthed food thermos does too. Avoid thin plastic, which loses heat too quickly.
The concrete steps
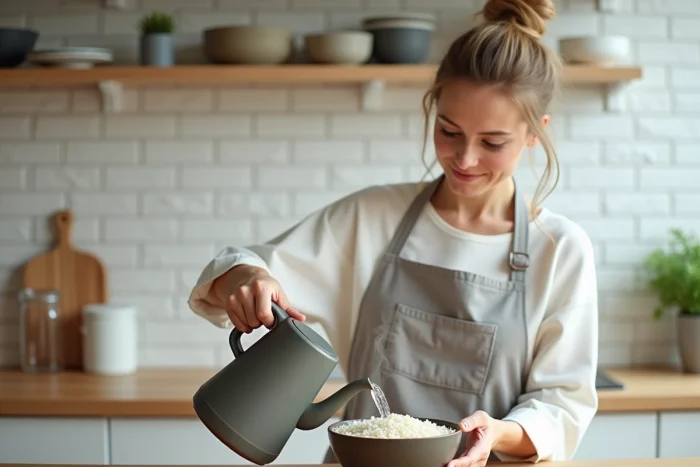
Place the soaked and drained rice in your container. Boil the water in the kettle. Pour the boiling water over the rice, maintaining a ratio of about one volume of rice to one and a half volumes of water. This measurement is for long-grain white rice, like basmati.
Cover immediately. Do not lift the lid during absorption. Each opening releases steam and lowers the temperature. Wait about fifteen minutes, then check the texture with a fork.
If the rice is still firm in the center, boil a little water again, add a small amount, cover again, and wait a few minutes. It’s better to add small amounts than to drown the rice from the start.
Which rice to choose for this method
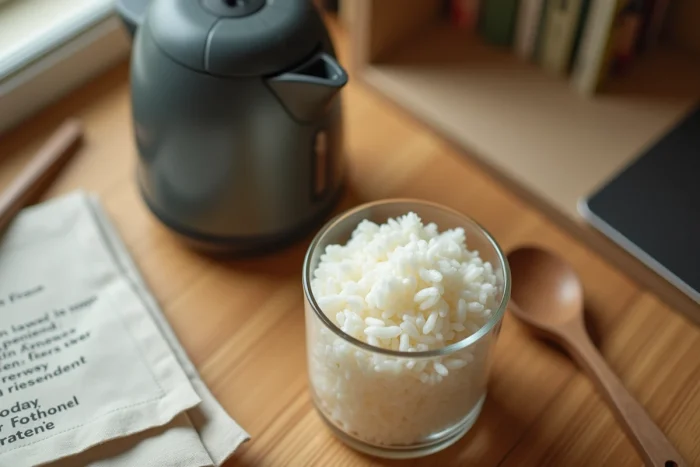
Not all rice reacts the same way. White basmati rice is the most suitable: fine grain, quick cooking, good soaking tolerance. Thai rice (jasmine) also yields good results, with a slightly stickier texture.
Brown rice or red rice require a much longer cooking time. Without a continuous heat source, the result will often be disappointing. Save them for a real pot.
Precautions and limitations of cooking with a kettle
Never put rice directly in the kettle. The starch released during cooking causes overflow, clogs the heating element, and makes cleaning difficult. Manufacturers advise against using the kettle to cook food: it is meant for heating water, nothing more.
The kettle heats the water, the container cooks the rice. Keeping this separation prevents damage and extends the lifespan of the appliance.
- Preheat the container by pouring a little boiling water into it before adding the rice. This avoids thermal shock that would drop the temperature too quickly.
- Wrap the covered container in a thick towel or cloth to improve insulation. This trick gains several minutes of stable heat.
- Do not salt the water before cooking if you are using a metal thermos: salt can accelerate the corrosion of certain coatings.
Energy and practicality in daily life
The kettle consumes energy only during the heating phase, which lasts a few minutes. Compared to an electric stove that runs throughout the cooking process, the energy cost is significantly lower. This is a valid argument for tight budgets or homes charged by consumption.
However, this method only allows for preparing one to two portions at a time. For a meal for four, a pot remains more practical.
Cooking rice in a kettle remains an effective backup solution, not a permanent substitute for a stove or rice cooker. With good soaking, an insulating container, and the right type of rice, the result holds up. The grain may not be perfect, but it will be cooked, fluffy, and ready in under twenty minutes with nothing more than an electrical outlet.